Development Environments [2]: Ubuntu 20.04 Settings on RTX 4080 -1
Development Environment Settings 🏞️
Every time I boot the desktop with Ubuntu install, this kind of FAILED error message appears. It says [FAILED] Failed to start NVIDIA Persistence Daemon…💩
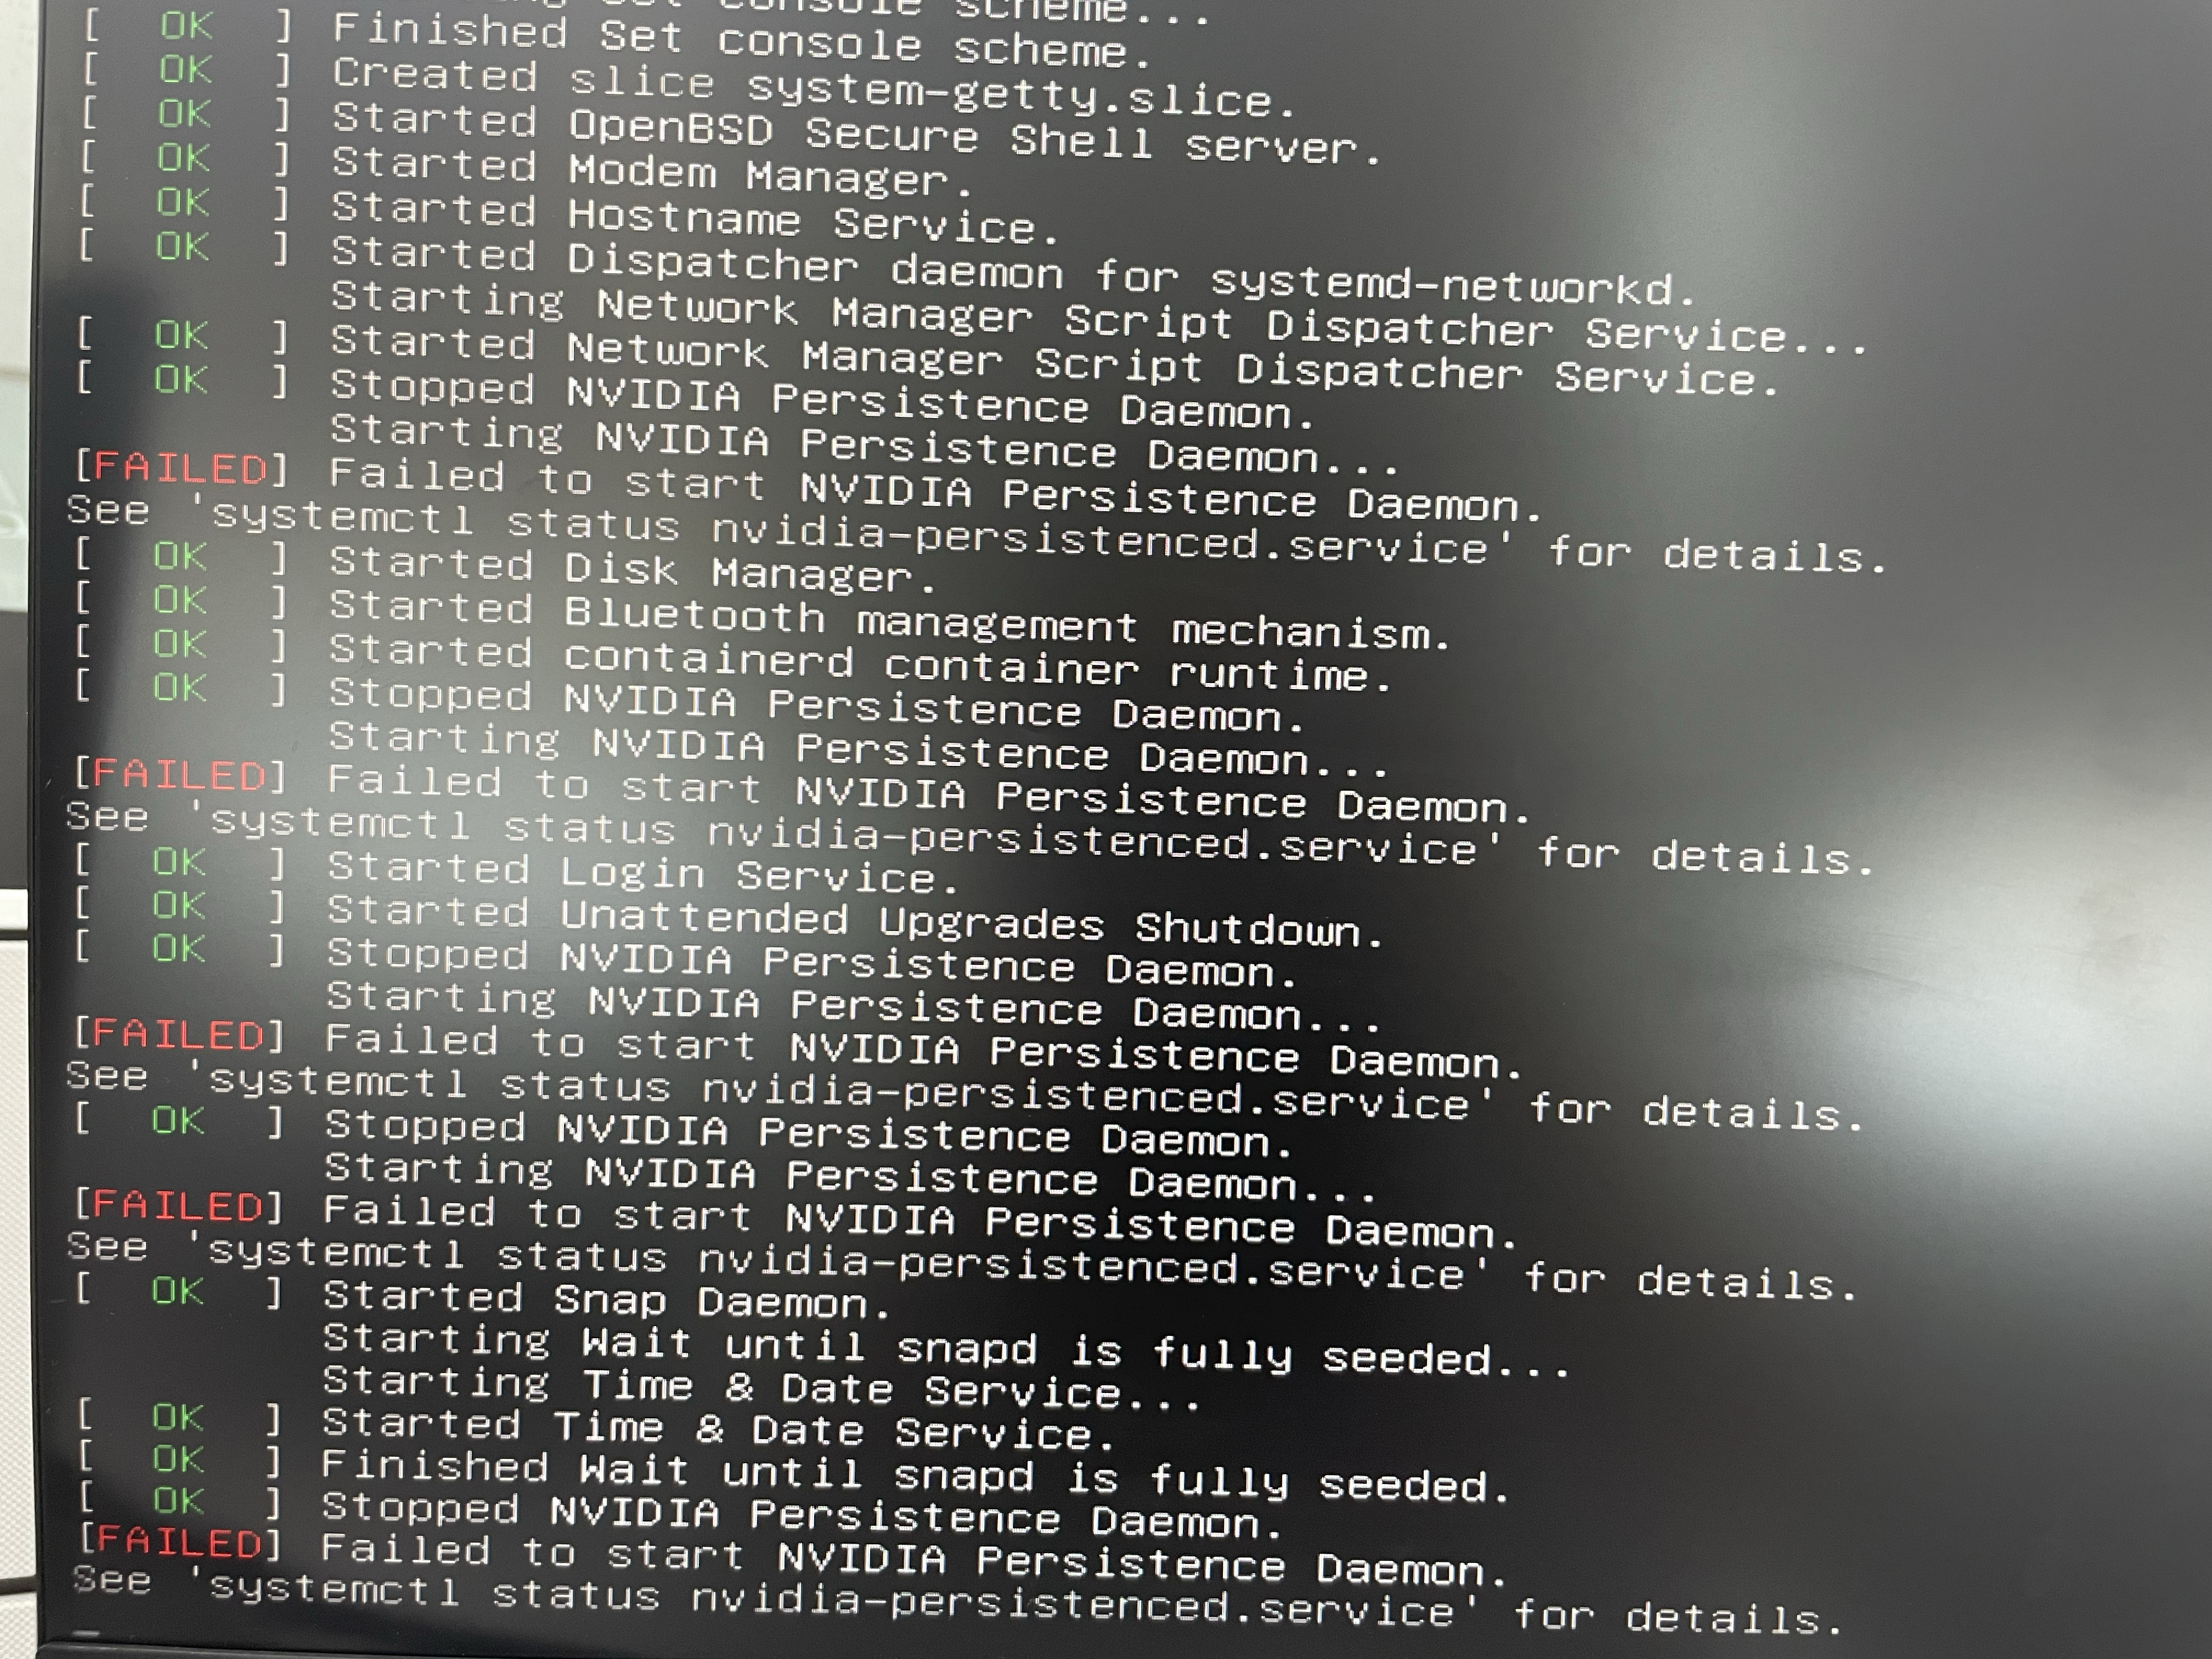 FAILED…
No matter how much I searched, I couldn’t find the cause. I tried various things, but the problem still couldn’t be solved.😵
I just thought there is something wrong with the graphics card connection, so I unplugged the graphics card and insert it again.
Now, I am going to reinstall Ubuntu 20.04 to recreate the development environment.
👸 Please unplug and insert the Graphic card once before you start this! 🔌
0. Hardware Spec
[Labtop] 💻
MacBook Pro M3 Pro
Mem 18 GB / Macintosh HD
MacOS Sonoma 14.4.1
[Desktop] 🖥️
Graphic Card: NVIDIA GeForce RTX 4080 (This can support Cuda v 12.0)
1. Create a bootable USB stick on MacOS for Ubuntu
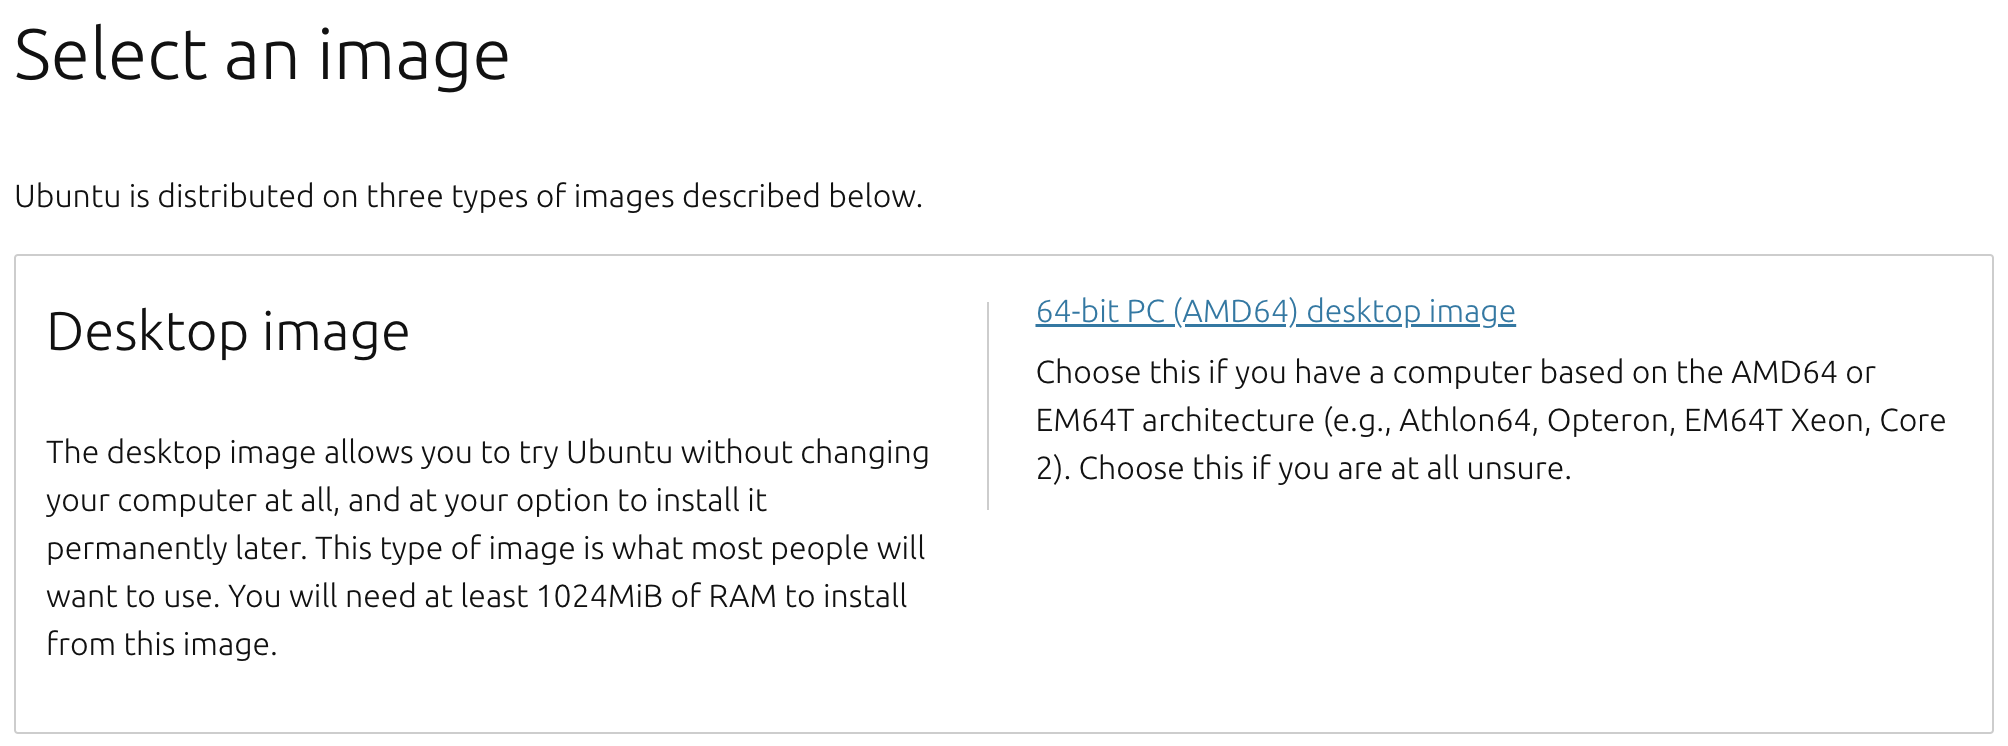
1) Download Ubuntu 20.04 LTS (Focal Fossa)
 Choose this if you are at all unsure 😆
64-bit PC (AMD64) desktop image
Choose since you have a computer based on the AMD64 or EM64T architecture (e.g., Athlon64, Opteron, EM64T Xeon, Core 2).
2) Install Homebrew
(1) Is Homebrew not installed?
👸 If you don’t use a password to log in to your Mac, you cannot install Homebrew❗
1
brew
If Homebrew is not installed, you will see:
1
zsh: command not found: brew
(2) Install homebrew on your MacOS
The Homebrew website provides an installation script that can be downloaded and run with a single command. This is the easiest way to install Homebrew. If the code below doesn’t work, check the Homebrew website to see if it has been changed.
1
/bin/bash -c "$(curl -fsSL https://raw.githubusercontent.com/Homebrew/install/HEAD/install.sh)"
The command above will ask you to enter your Mac user password. This is the password you use to log in to your Mac. You won’t see the characters you typed. When you are done typing please press enter.

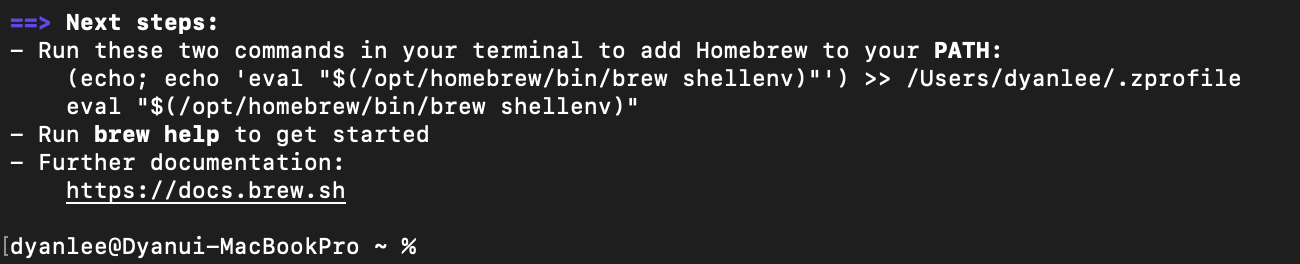
(3) Add Homebrew to your PATH in .zprofile

1
(echo; echo 'eval "$(/opt/homebrew/bin/brew shellenv)"') >> /Users/dyanlee/.zprofile
(4) Check Installation
Let’s check the version of installed homebrew!
1
2
(base) dyanlee@Dyans-MacBook-Pro ~ % brew --version
Homebrew 4.3.4
3) Install balenaEtcher using Homebrew
balenaEtcher is a free and open-source utility used for writing image files such as .iso and .img files, as well as zipped folders onto storage media to create live SD cards and USB flash drives. [1]

Homebrew Formulae for balenaetcher
1
brew install --cask balenaetcher
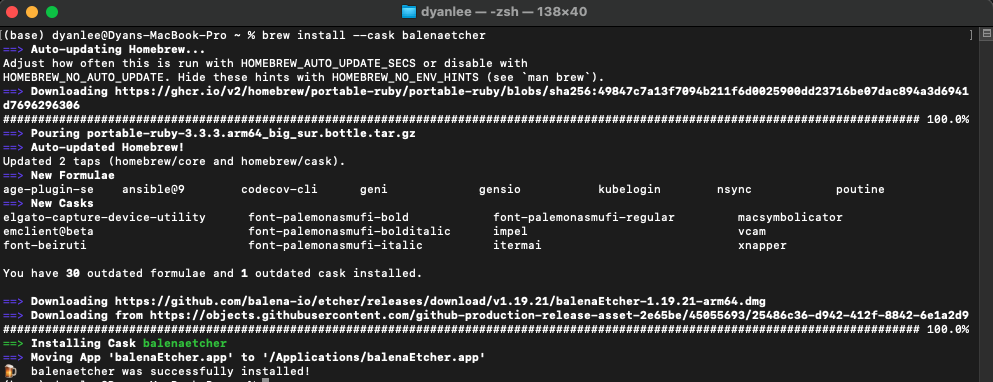 balenaEtcher installed!
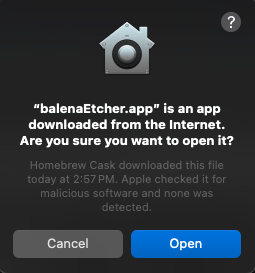 Click ‘Open’ here!
 Tah-Dah!
4) Creating a bootable Ubuntu USB stick with balenaEtcher
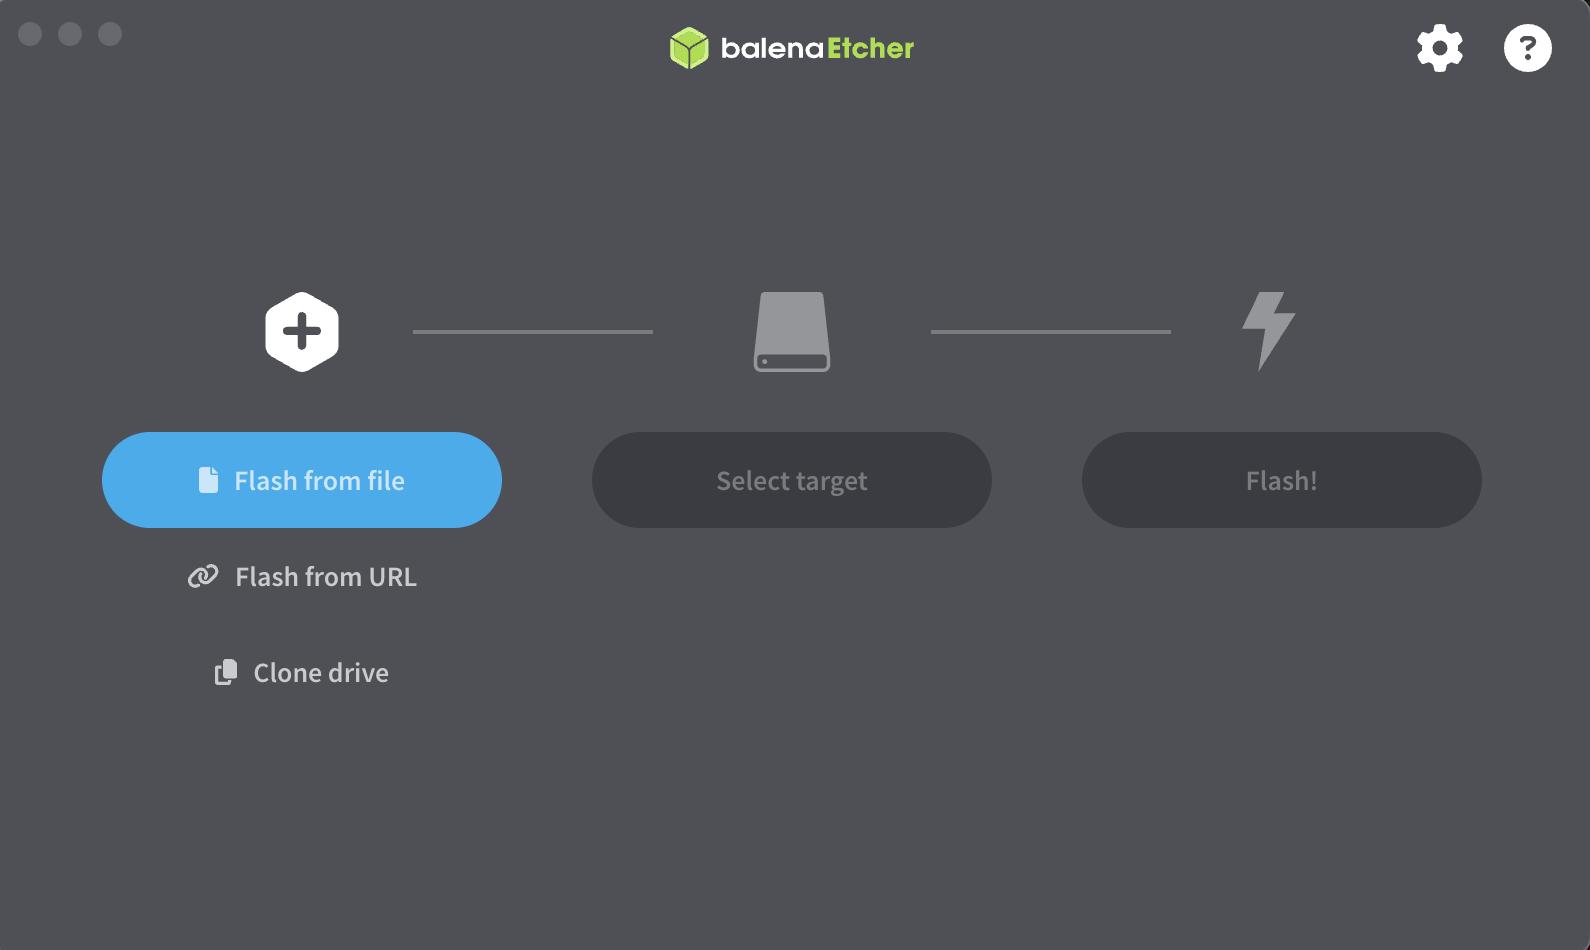
Etcher consists of three steps.
Step 1. Flash from File
This opens a file requester where you have to navigate to and select the ISO file you downloaded.
In this step, select the ISO file you downloaded earlier.
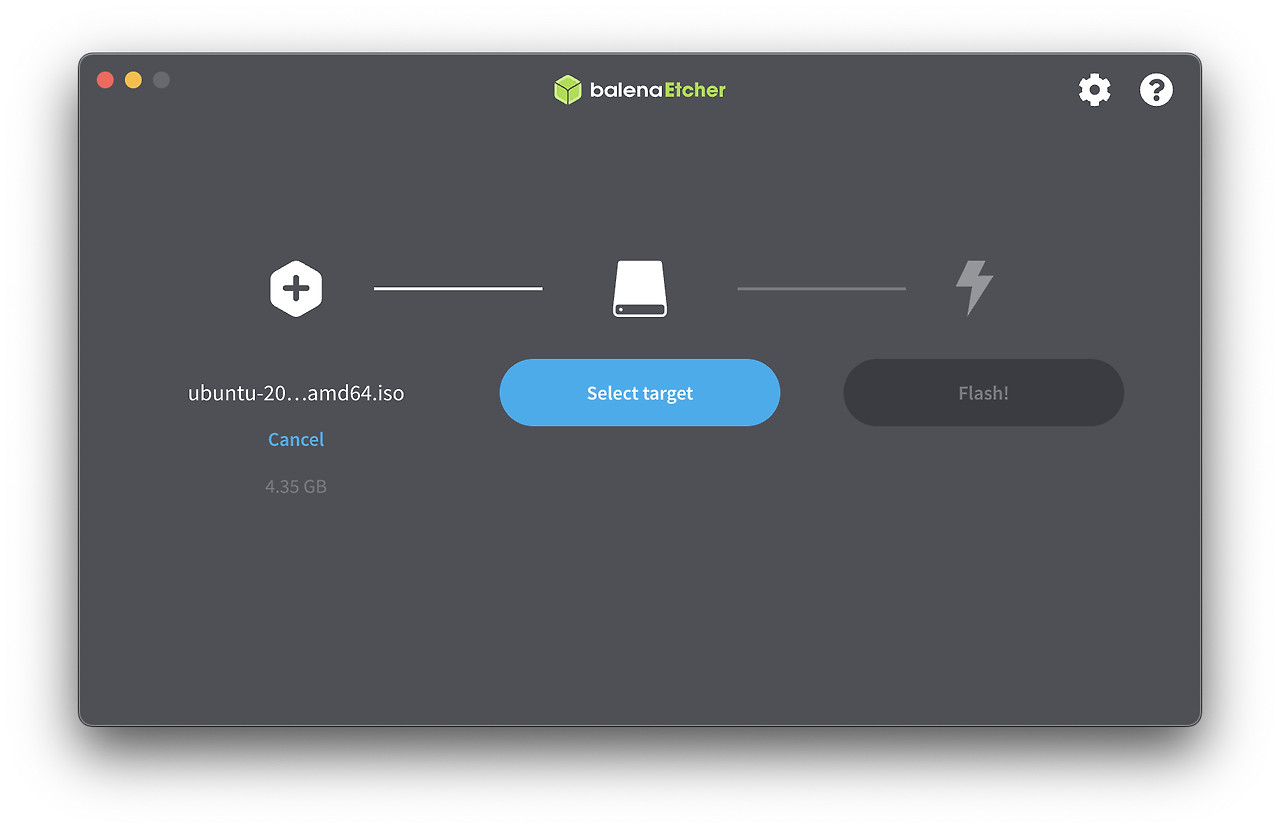
Step 2. Select Target
If a USB device is already connected, it will be automatically selected.
 Choose USB
Step 3. Flash!
It will be enabled when both the image and drive are selected. Like Disk Utility, Etcher requires low-level access to your storage hardware and prompts for a password after selection.
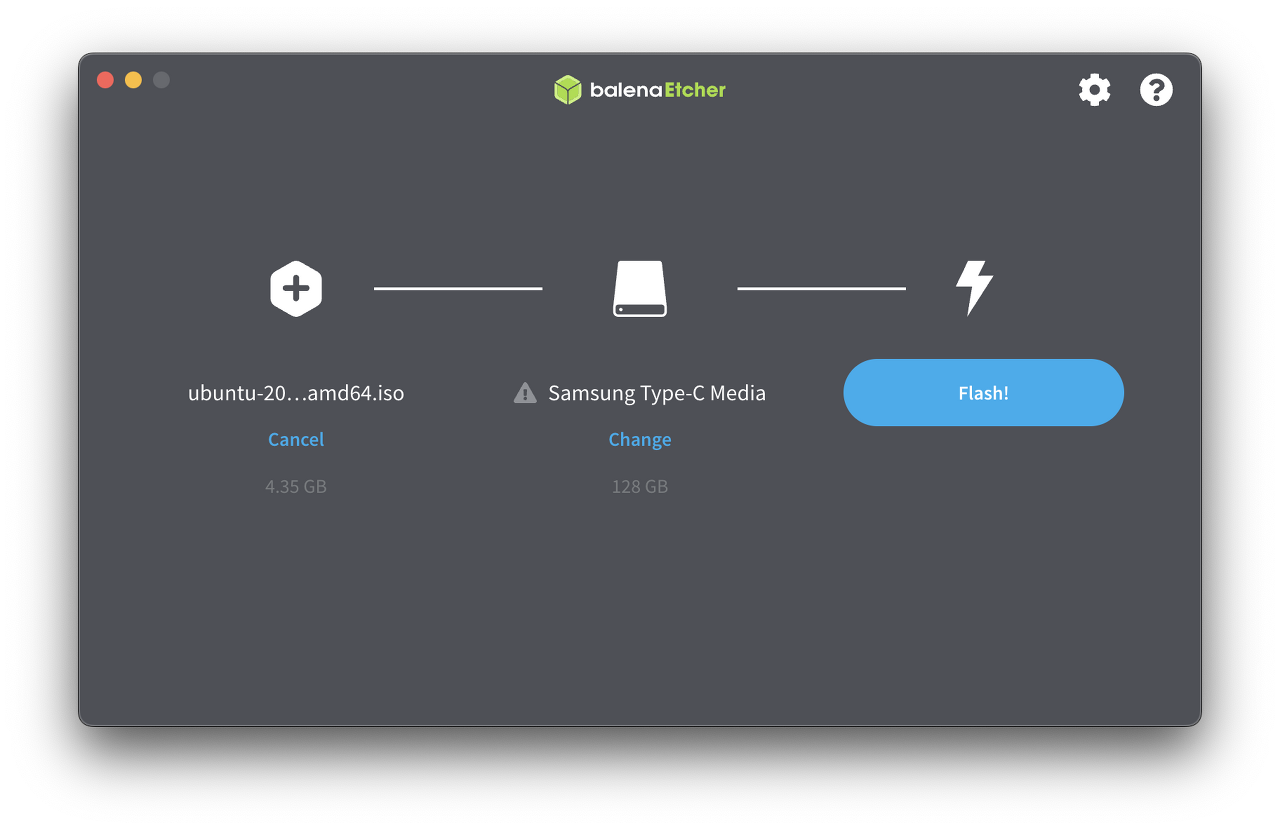
If you see message saying ‘Flash Complete!’ then creating bootable USB stick is DONE!
2. Install Ubuntu 20.04 LTS using bootable USB stick
1) Connect the Ubuntu bootable USB
Connect the Ubuntu bootable USB and restart the Desktop.
When you see the booting screen, press the F12 button repeatedly to enter BIOS.
The button to enter BIOS varies depending on the motherboard. It is usually one of F12, F2, or Del and is written on the screen when booting.
And then, select UEFI and proceed with installation.
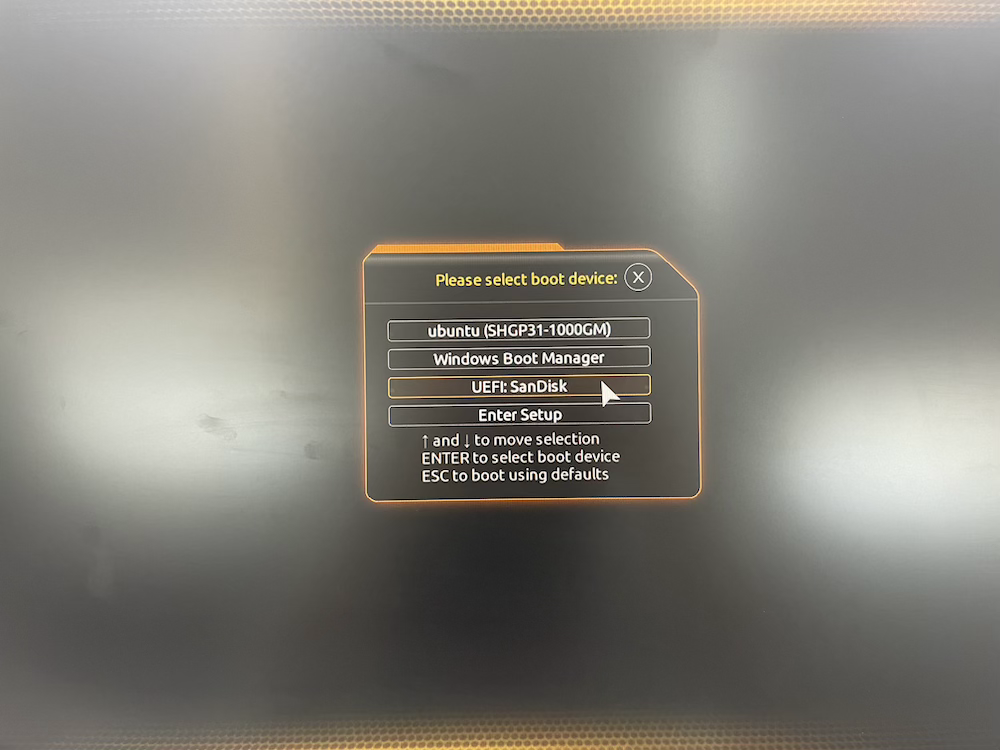 Select UEFI!
Then you will see that all filesystem checks are in progress!
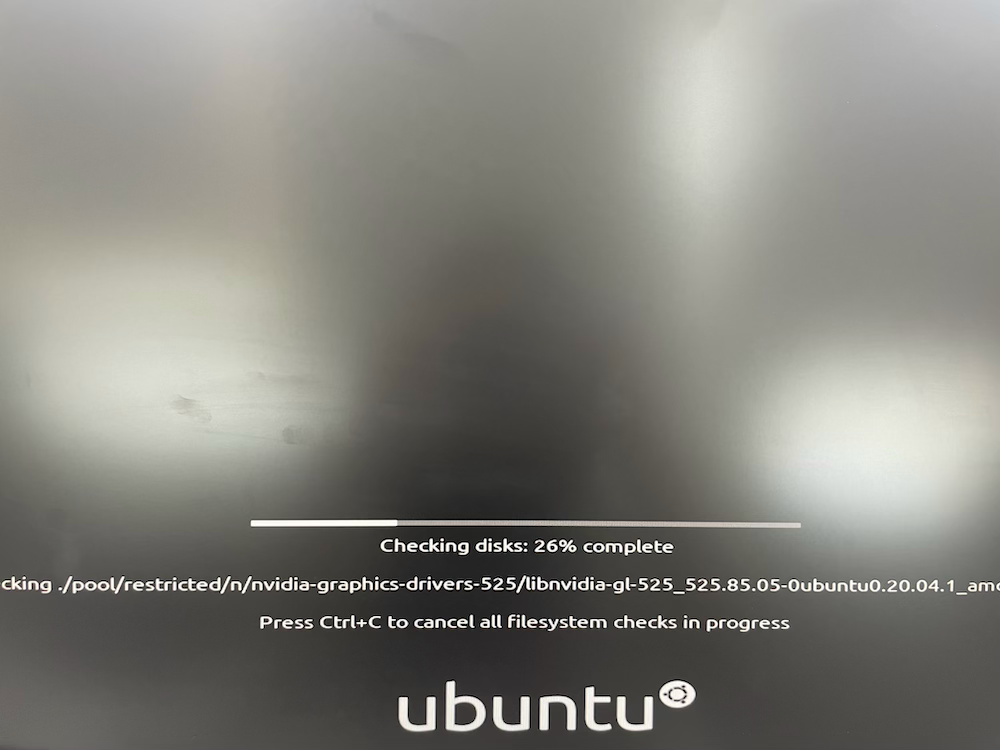 Checking disks
2) Proceed with installation
Follow instructions below! 🙂
(1) Setting for language and select ‘Install Ubuntu’
 (1) Setting for language and select ‘Install Ubuntu’
(2) Setting for Keyboard layout and select ‘Continue’
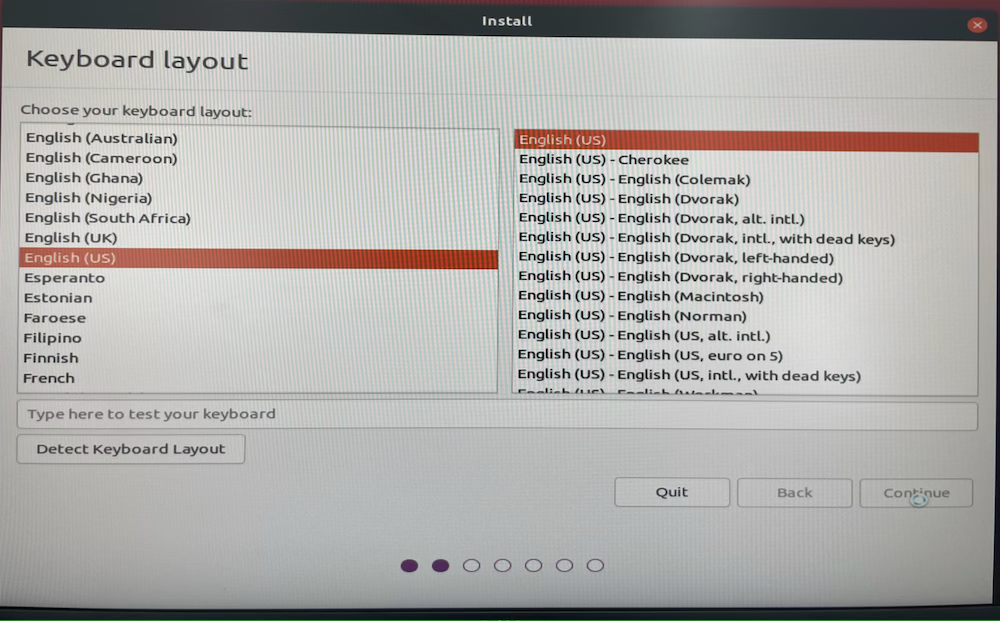 (2) Setting for Keyboard layout and select ‘Continue’
(3) Uncheck ‘Download updates while installing Ubuntu’
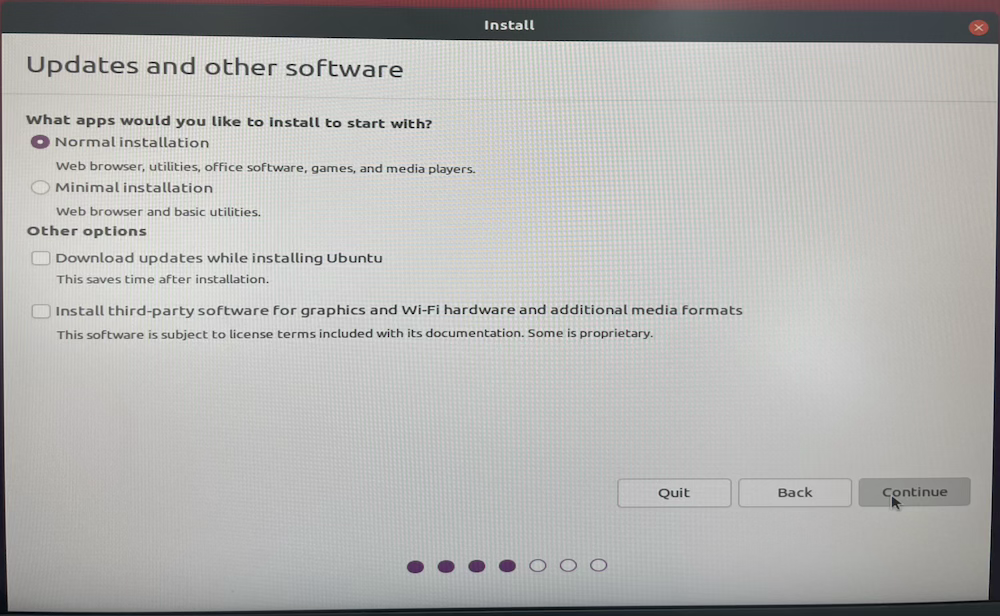 (3) Uncheck ‘Download updates while installing Ubuntu’
(4) Check ‘Erase Ubuntu 20.04.x LTS and reinstall’ to delete previous Ubuntu
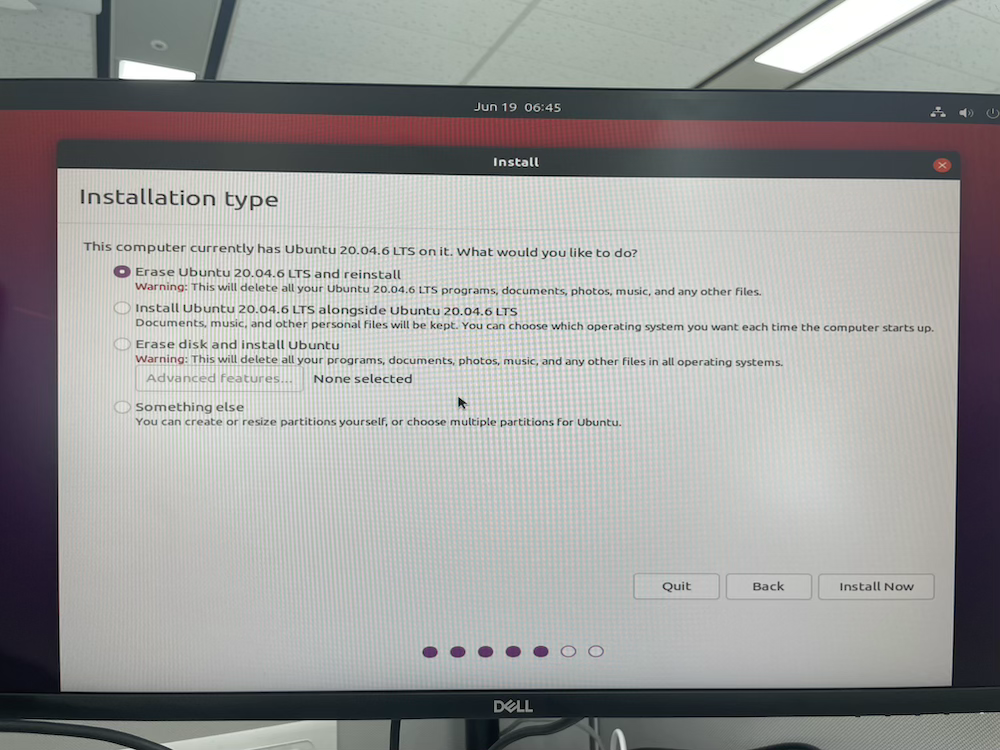 (4) Check ‘Erase Ubuntu 20.04.x LTS and reinstall’ to delete previous Ubuntu
(5) Select ‘Continue’ for the warning
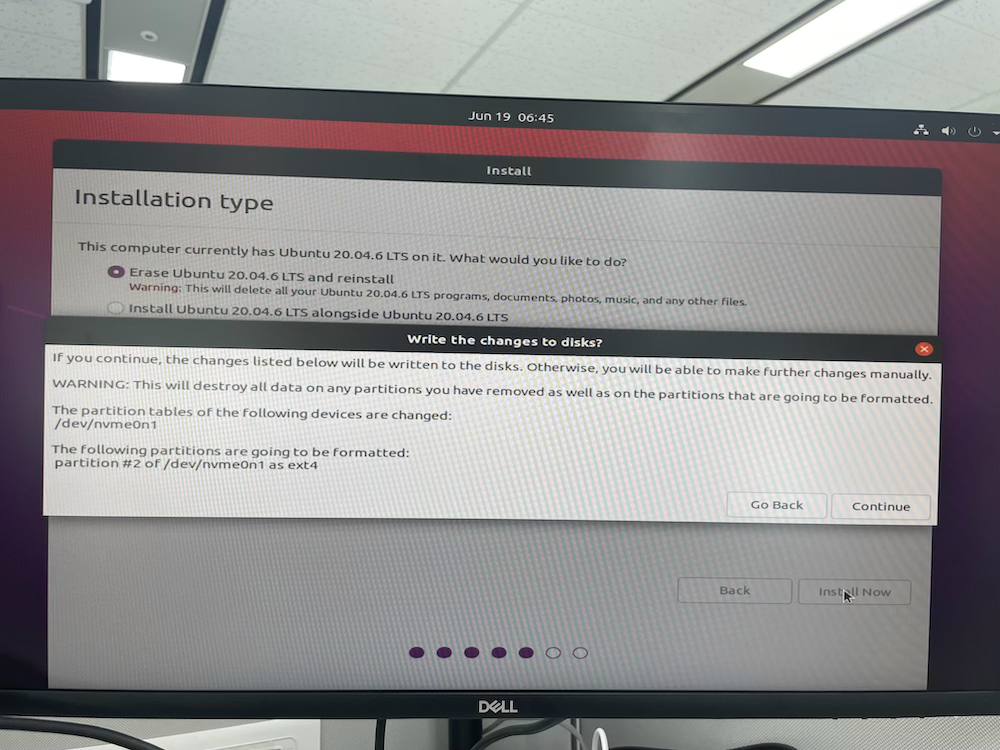 (5) Select ‘Continue’ for the warning
(6) Setting for the location and select ‘Continue’
 (6) Setting for the location and select ‘Continue’
(7) Setting for the basic information and select ‘Continue’
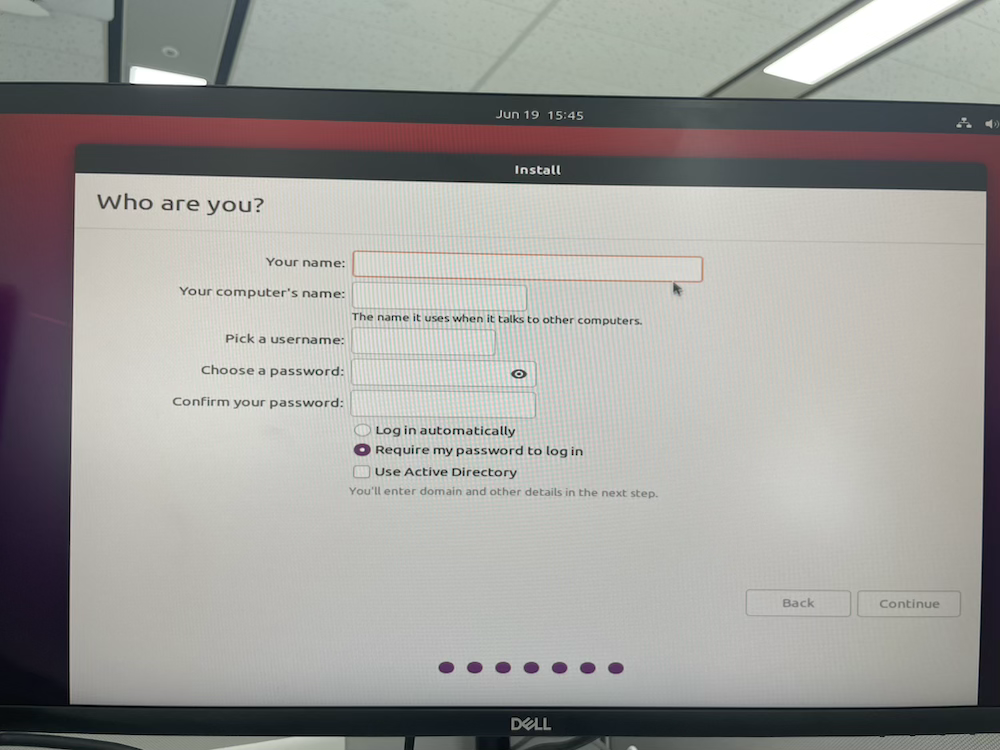 (7) Setting for the basic information and select ‘Continue’
(8) Installation proceed
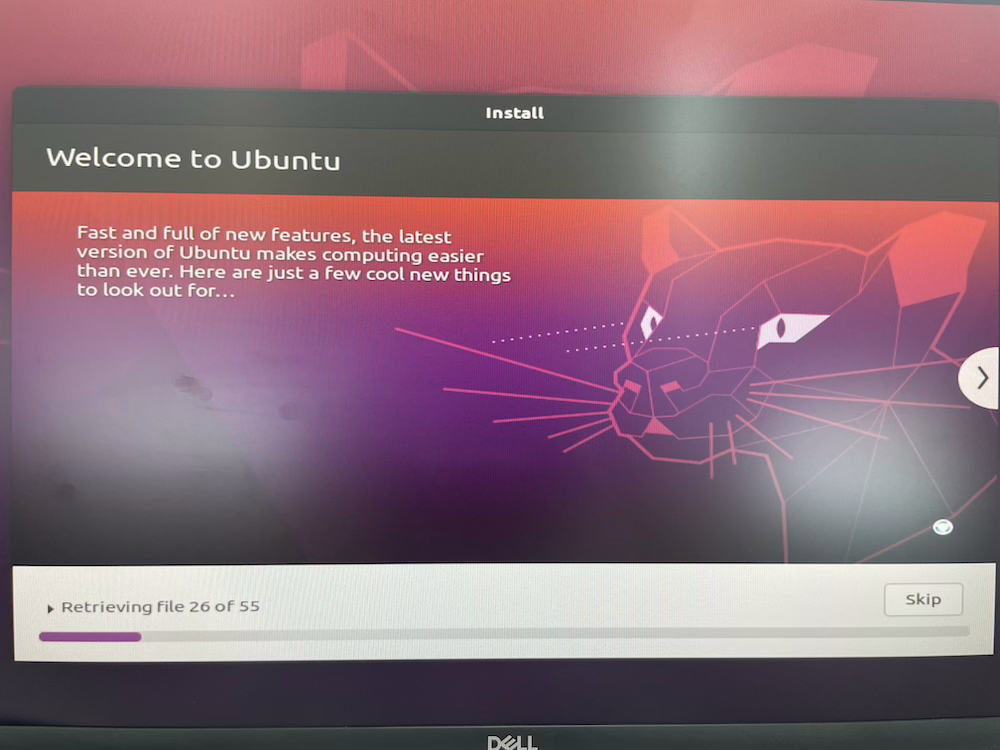 (8) Installation proceed
(9) Installation complete and restart the computer
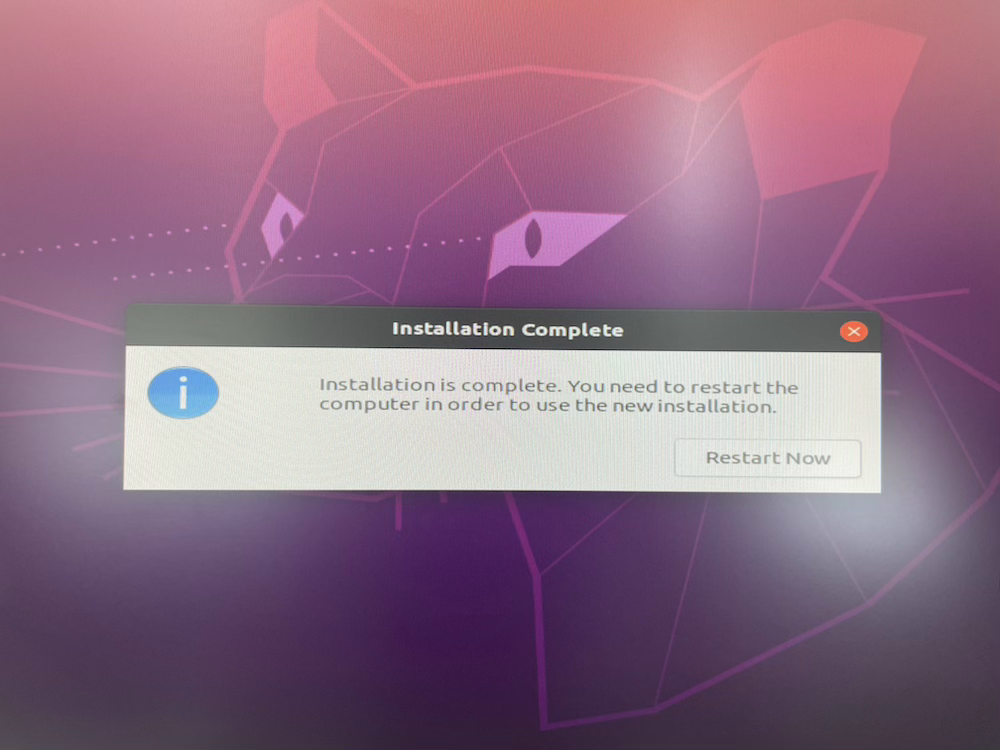 (9) Installation complete and restart the computer
(10) Remove the USB stick and press ENTER to proceed the booting
 (10) Remove the USB stick and press ENTER to proceed the booting
3. Install the graphic card drivers
After you finish installing Ubuntu 20.04 using a bootable USB stick, when the computer is restarted the resolution might be a little weird. (large icons, undoable dual monitor, and so on…) Even though you tried to change the resolution from the Settings, there may be no other options. 🤷♀️
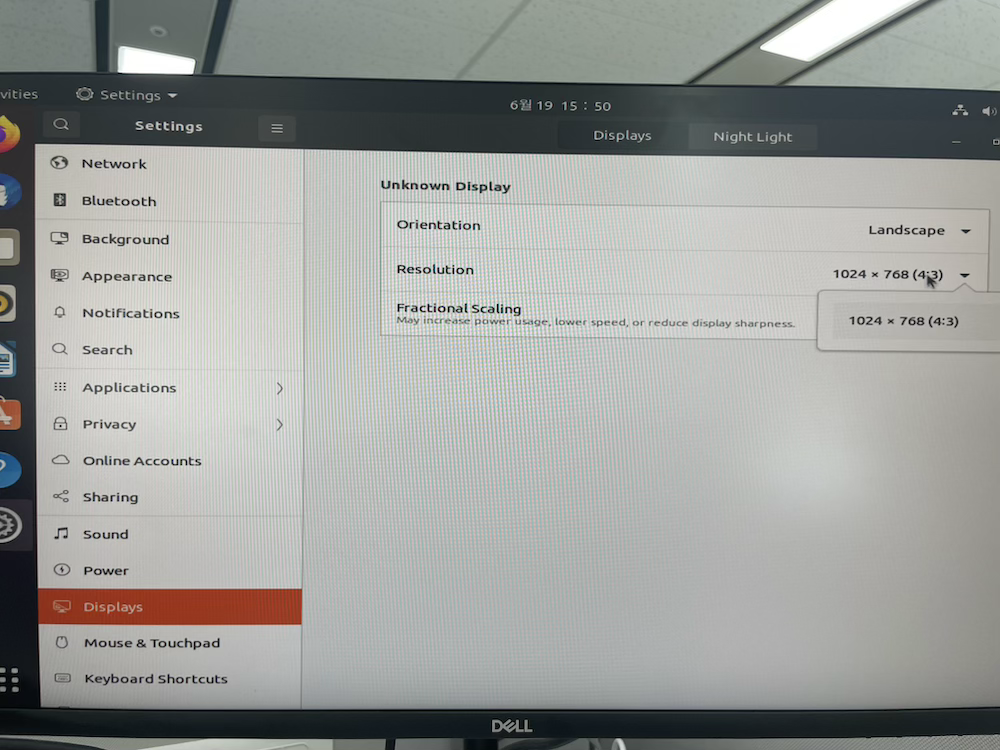 No other options for the resolution setting and dual monitor setting is incapable.
1) Check the installable drivers.
1
ubuntu-drivers devices
You can check the vendor of graphic card and installable drivers with the command above!
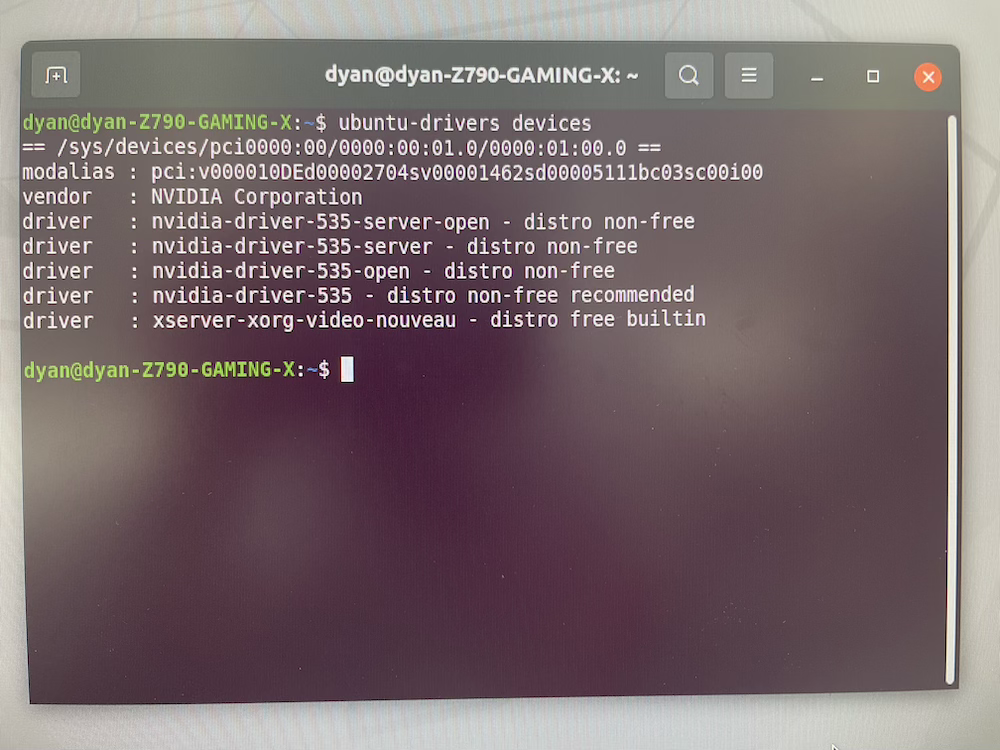 The vendor of graphic card and installable drivers.
2) Install the graphic card driver
Choose if you want to install the driver automatically or with specific version and select the version you want to install. And then you can install the driver with the commands below.
1
2
3
4
5
# Install driver automatically
sudo ubuntu-drivers autoinstall

# Install driver with specific version
sudo apt install nvidia-driver-535

3) Install the packages for NVIDIA kernel module
After installing the NVIDIA driver, we need to install the modprobe package that helps load the NVIDIA kernel module.
1
sudo apt-get install dkms nvidia-modprobe
Finalize the installation with following commands.
1
2
3
4
sudo apt update
sudo apt upgrade
# ...
sudo reboot
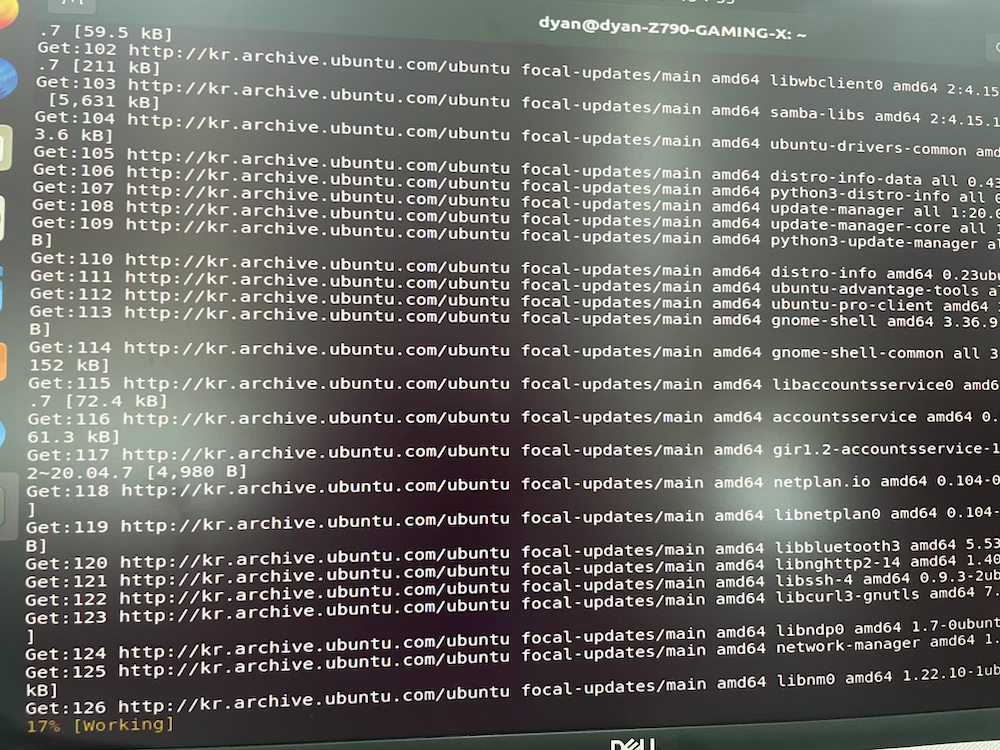 Processing sudo apt upgrade … takes a little while. ⏳
4) Check if the installation went well!
After rebooting, run the following command to check whether the installation was successful. If the result comes out as shown in the figure below , then the installation was successful! 👏
1
nvidia-smi
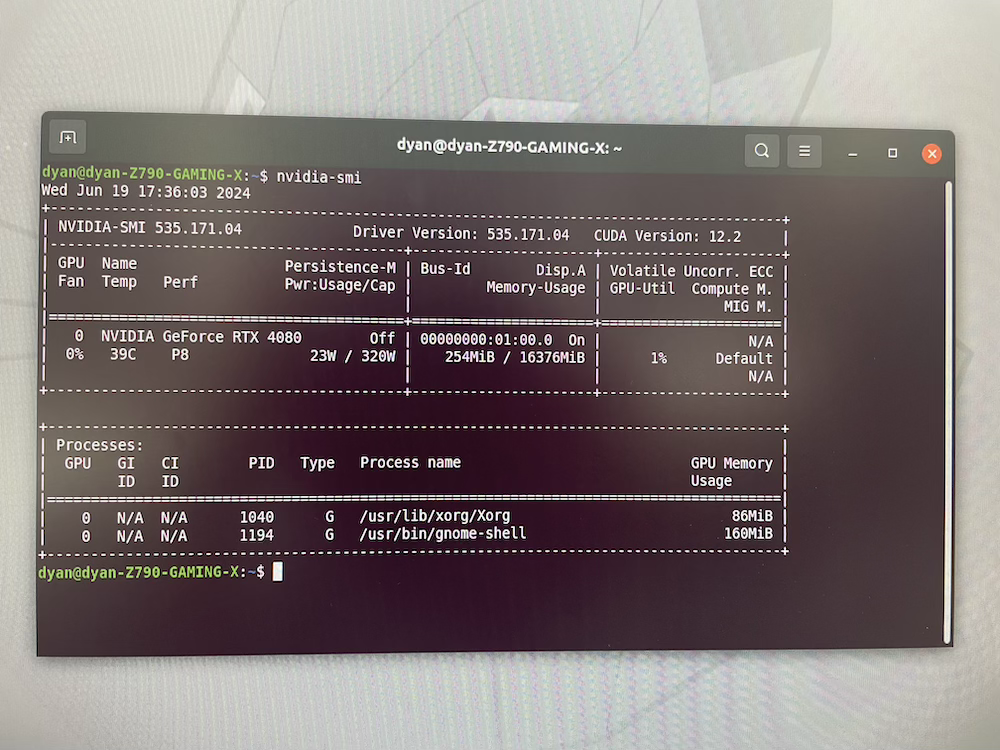 nvidia-smi result!
And now, the dual monitor works and there are more options for the resolution settings.
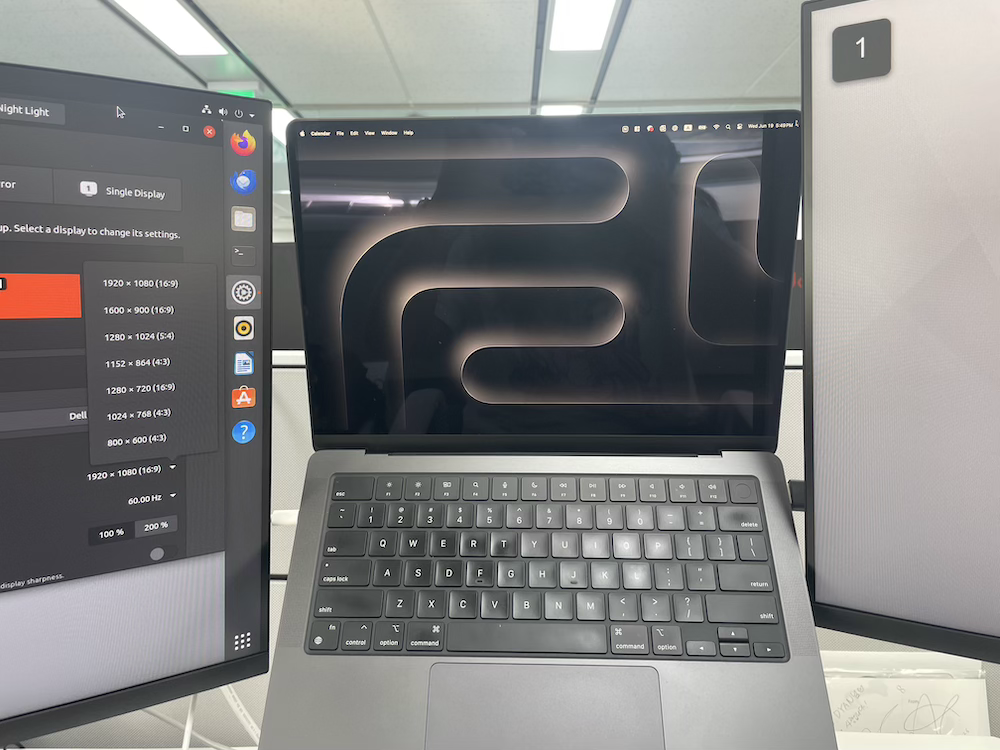 Dual monitor works and the resolution is fine! 🥳
👸 TBC… ⏩