Github Blog [1]: Using Jekyll
GitHub Pages

- Static site provided by GitHub
- You can manage posts by pushing files to the repository and there is no cost.
- GitHub Pages Information
Static Site Generator
Jekyll ✔️

- Ruby based
- The most common and popular static site creation framework
- If there are a lot of documents, it may take more than 5 minutes to build.
- Various Themes
Hugo

- Based on Golang
- Build speed is very fast
- Well-organized documentation
- Not a lot of Themes to use
Hexo

- Based on JaveScript(Node.js)
- Quite a few Korean references
- Various Themes
Prerequisites
- GitHub
- VSCode
Device Spec
MacBook Pro M3 Pro
Mem 18 GB / Macintosh HD
MacOS Sonoma 14.4.1
How to build your own Blog with GItHub Pages
1. Create a new GitHub repository
💡 Repository name :
{GitHub_username}.github.io
- Set as ‘Public’ / Uncheck ‘Add a README file’ / Create repository
After creating repository…
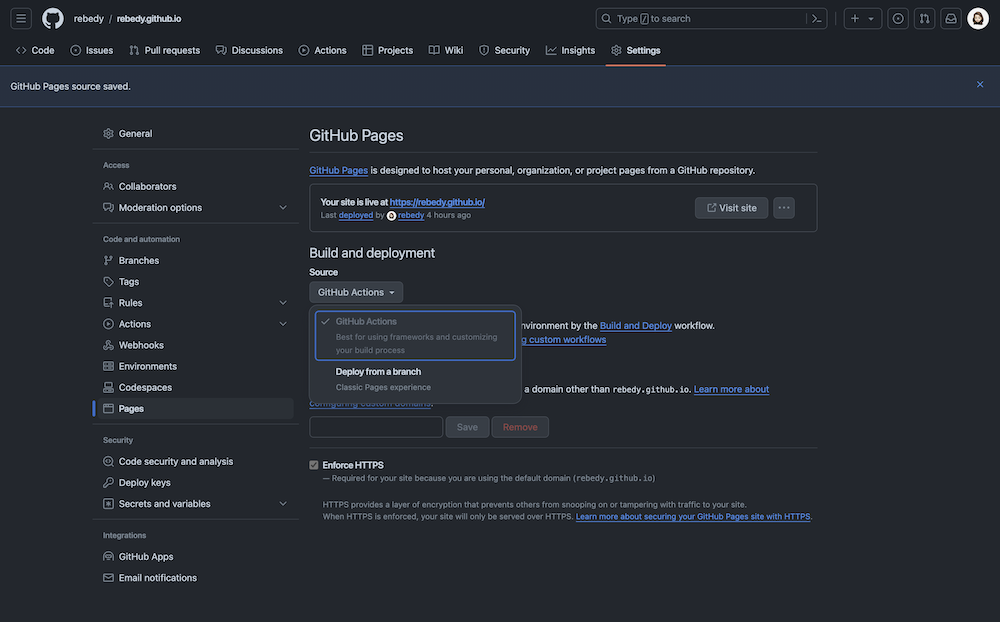
ℹ️ We need to change the source of Build and deployment for GitHub Pages!
- Settings > Pages > Build and deployment > Source > choose
GitHub Actions
2. Github repository clone
- After copying the HTTPs address, open the terminal and then run
git clone {HTTPs_address} - Permission error
- Password is not allowed from November 2020. From 13th August 2021, the certified token (or SSH key) is needed for all git processes.
3. npm Installation
Download: https://nodejs.org/ko/
- NPM will also be installed with Node.js, and you can check whether the installation was successful by checking the version.
1
2
node -v
npm -v
4. Ruby Installation
Ubuntu
1
sudo apt-get install ruby-full build-essential zlib1g-dev
MacOS
Ruby is installed on the MacOS initially. But MacOS uses System Ruby so it doesn’t have permissions to install gem. You gotta use rbenv to change Ruby version.
1
brew install ruby
rbenv versioning
1
2
3
4
5
6
7
8
rbenv install -l
rbenv install 3.3.1
rbenv global 3.3.1
rbenv versions
which ruby
rbenv init
vim ~/.zshrc
source ~/.zshrc
Re-Install Ruby with specific version using rbenv
- If you are using a M1 Macbook you may have this error…[Ruby Problem]
1
2
3
[NOTE]
You may have encountered a bug in the Ruby interpreter or extension libraries.
...
1) rbenv installation
1
brew install rbenv ruby-build
2) Check ruby version (current one)
1
rbenv versions
3) Check installable versions
1
rbenv install -l
4) Install ruby and change the version setting. (I am using v3.3.1)
1
2
rbenv install x.x.x
rbenv global x.x.x
5) Check the changed version! 🙂
1
2
3
rbenv versions
which ruby
rbenv init
6) Check out shell and edit the configuration file.
1
echo $SHELL
→ If it says /bin/zsh, add below after vi ~/.zshrc
1
2
export PATH={$Home}/.rbenv/bin:$PATH && \
eval "$(rbenv init -)"
7) Apply the change
1
source ~/.zshrc
8) Re-install
1
2
gem install bundler
rbenv rehash
9) Download jekyll at the repository you cloned
1
gem install jekyll
10) Install basic bundle using jekyll
5. Jekyll and gem Installation
1
gem install jekyll bundler
ref.: https://jekyllrb-ko.github.io/docs/installation/macos/
Dependencies
1
gem install github-pages
6. Generate a basic framework for the homepage
1
jekyll new ./
1
jekyll new ./
7. bundle Installation
1
bundle install
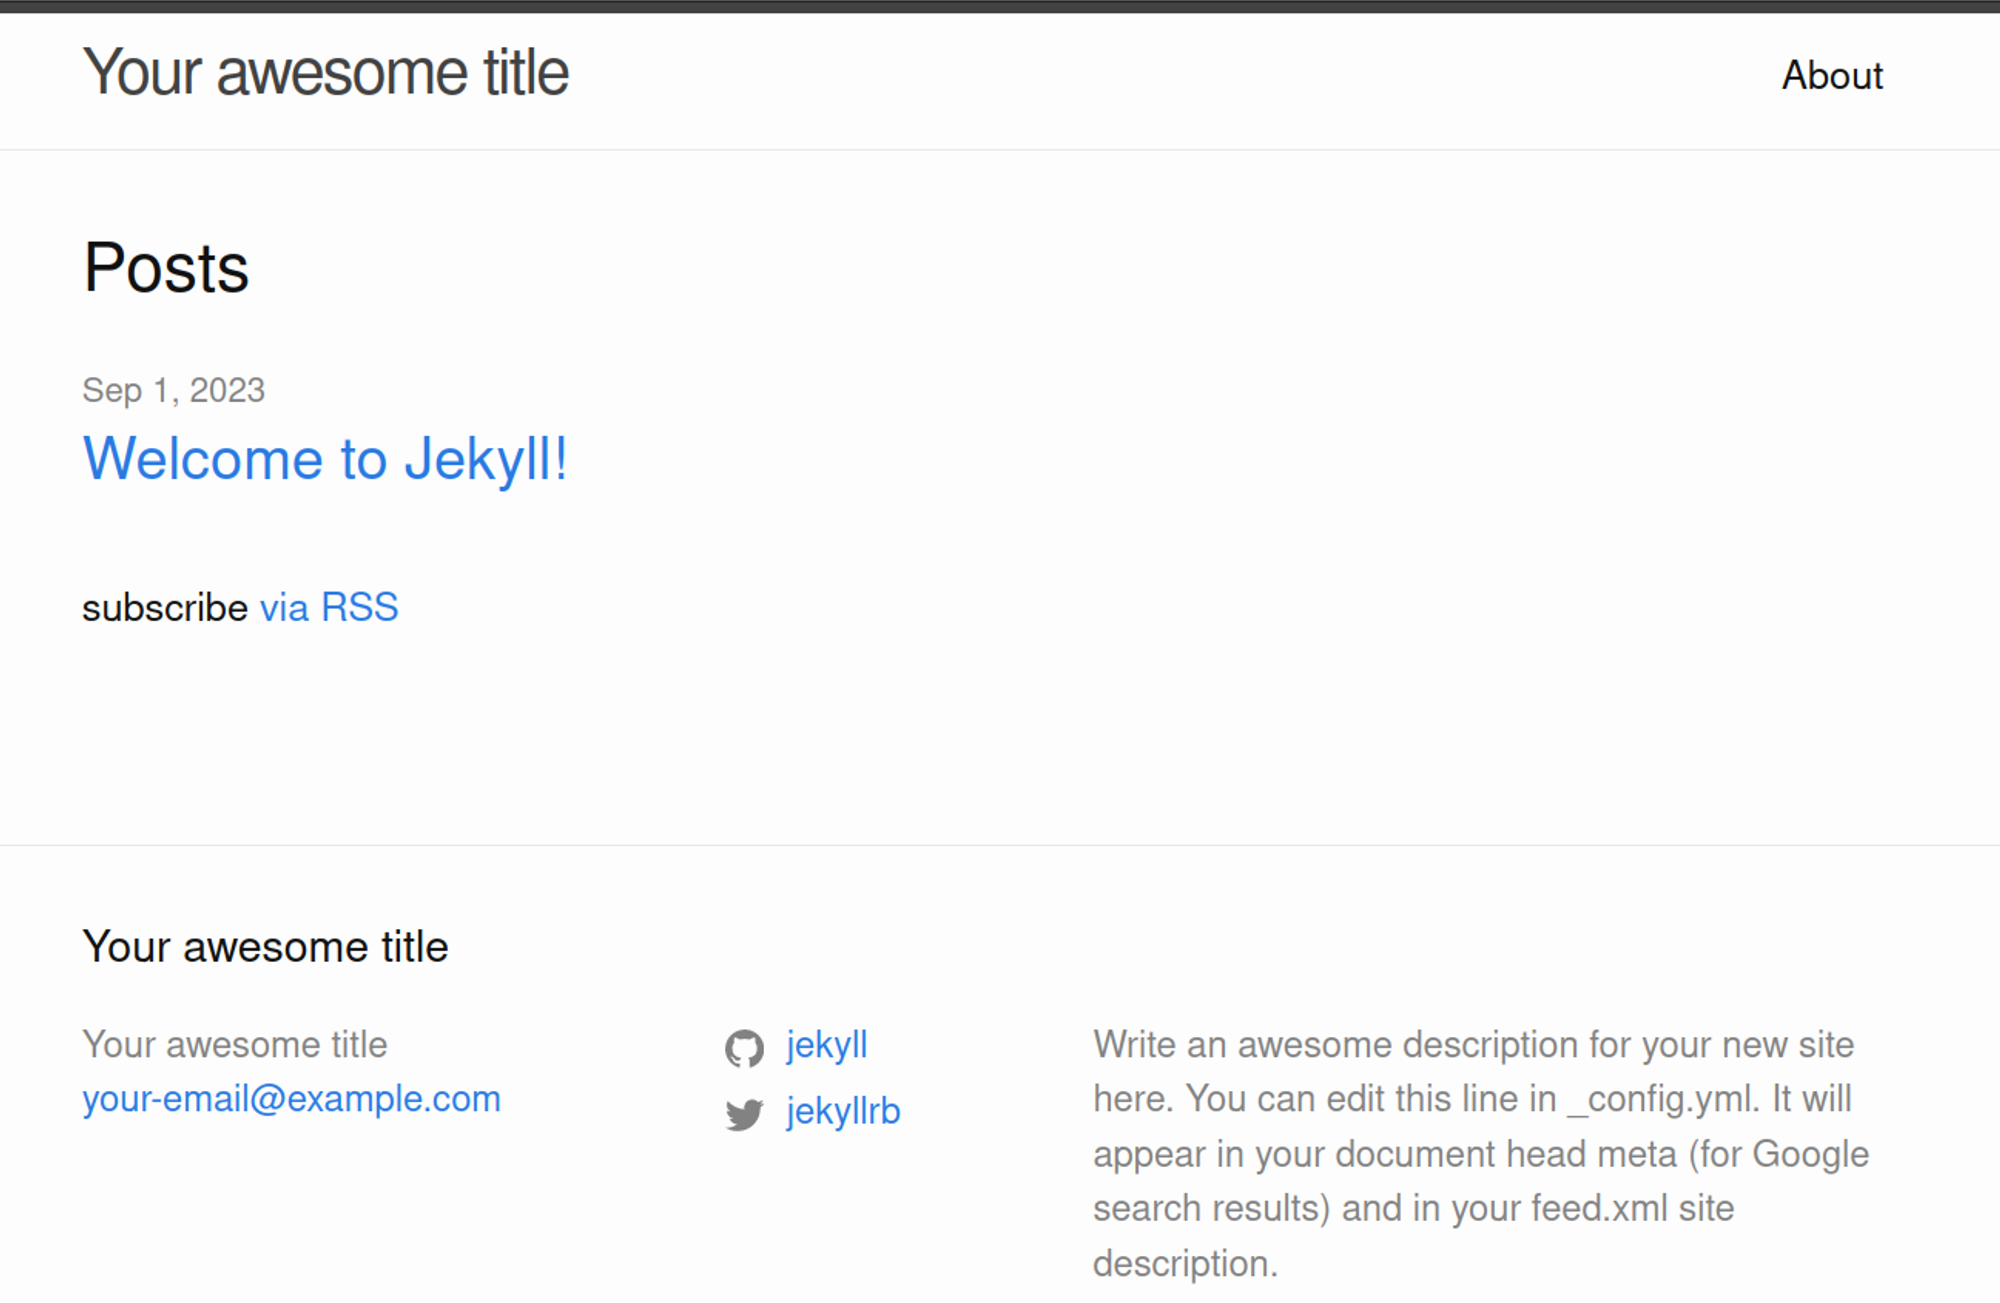
Execute Jekyll on the local server!
- Run.
1
bundle exec jekyll serve
- http://127.0.0.1:4000/ on browser.
8. Deploy
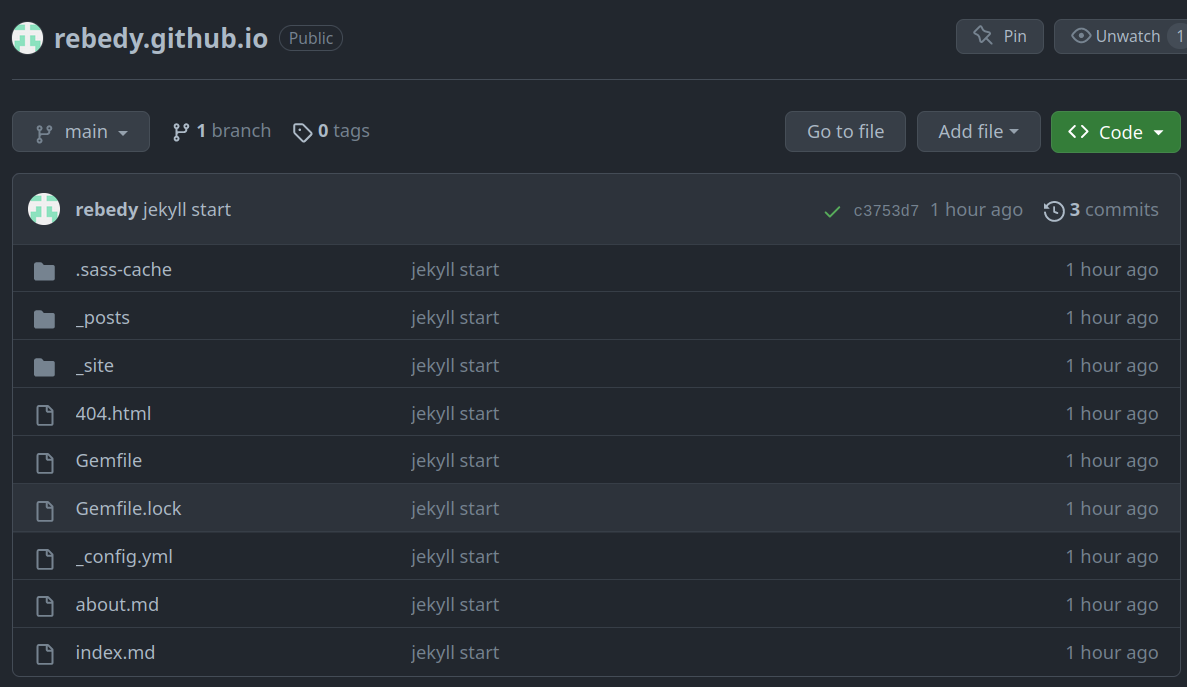
First git push
1
2
3
git add .
git commit -m "jekyll start"
git push
9. Jekyll Theme
Step 1. Download Theme
- Download directly from github
- Download from the homepages
- http://jekyllthemes.org/
- https://jekyllthemes.io/free
- https://themes.jekyllrc.org/
- https://github.com/topics/jekyll-theme
Step 2. Create a new folder in local and connect to the GitHub repository
Doesn’t matter if you don’t do this step!
2-1. Create an empty folder and get in
1
2
mkdir {folder_name}
cd {folder_name}
2-2. Connect to the pre-made GitHub homepage repository
1
2
3
4
5
6
7
# Generate git in the folder
git init
# Connect the GitHub homepage repository to the blog
git remote add origin {github_HTTPS_address}
# Download data from repository to blog folder
git pull origin main
# Done!
2-3. Delete all the data in the folder
1
rm -rf {folder_name}
Step 3. Download Jekyll’s basic package
1
jekyll new ./
Step 4. Copy and paste the Theme’s contents to the folder
Copy all the contents of the theme folder that you downloaded and paste to the newly made folder. Merge or replace all the files if necessary.
Step 5. Add, commit, push
1
2
3
4
git add .
git commit -m "change theme"
git push --set-upstream origin main
git push
Conflicts 😕
1. conflict error
1
2
bundle install
bundle exec jekyll build
→ Delete 404.html, about.md, index.md files
2. github build failed
깃헙에 add commit push 하면 에러 메시지: pages build and deployment #20 error
1
github-pages 225 | Error: The jekyll-theme-hydejack theme could not be found
→ Edit the _config.yml file in the folder.
1
2
3
4
5
6
7
8
9
10
vi _config.yml

### code about the Theme
theme: jekyll-theme-hydejack
#remote_theme: hydecorp/hydejack@v9


### Change it to...
#theme: jekyll-theme-hydejack
remote_theme: hydecorp/hydejack@v9
3. bundle update
After you are done with step 9 if you have problem with build, please consider working on this process.

- Do either one of the commands below.
1
2
3
4
5
$ NODE_ENV=production npx rollup -c --bundleConfigAsCjs

OR

$ npm install && npm run build bundle update
- Result
